Build Your Own Spotify Client
This challenge is to build your own Spotify Client using the Spotify API.
If you’re a software developer I’m sure you’ve heard of Spotify and have an account. If not you can sign up for a free one on their website.
The Challenge - Building a Spotify Client
This challenge is perfect for the frontend developers. It focuses on using Spotify’s API to interact with the Spotify service to build an an online client and uses their Web Playback SDK to support playback.
If you’re not a frontend dev and don’t fancy learning, you can still use the Spotify’s API from your favourite stack to create, edit and play playlists including selecting playback devices.
So whilst, this challenge is aimed at all those who have been asked for a more frontend focused challenge, you can still build this entirely as a command line application if you prefer.
Personally I built my example in JavaScript with React. If I started over I’d use TypeScript (Spotify released the TypeScript SDK, just after I finished writing).
Step Zero
Please set up your IDE / editor and programming language of choice.
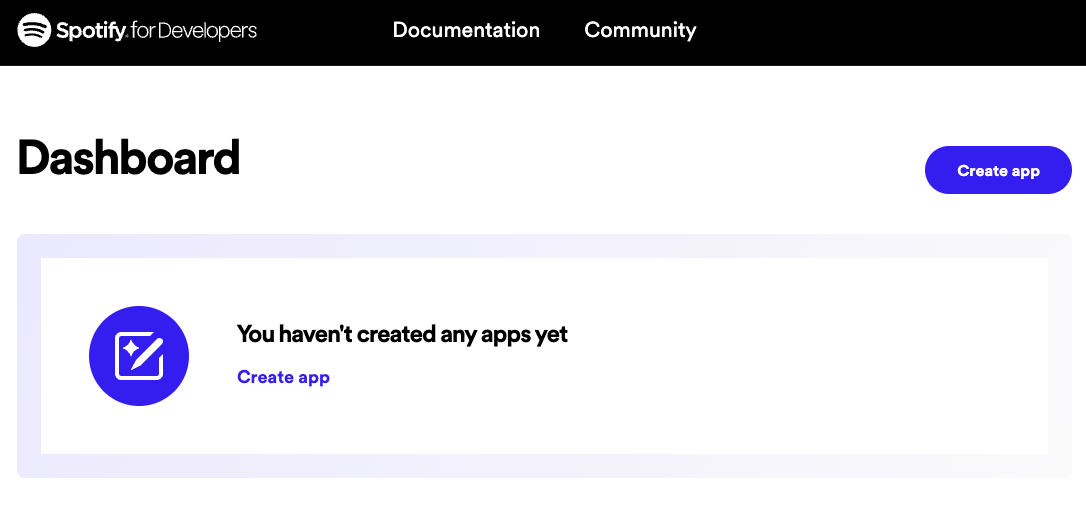
After that navigate to Spotify’s website and create an account if you don’t already have one. Once you’ve done that head over to the Developer Website.
You can use the API without registering an app, but we’re going to access some personal data (our profile and some public playlists) so we’ll need to register and application.
Click on the Create app button or link to do so:
Enter some sensible values for the app:
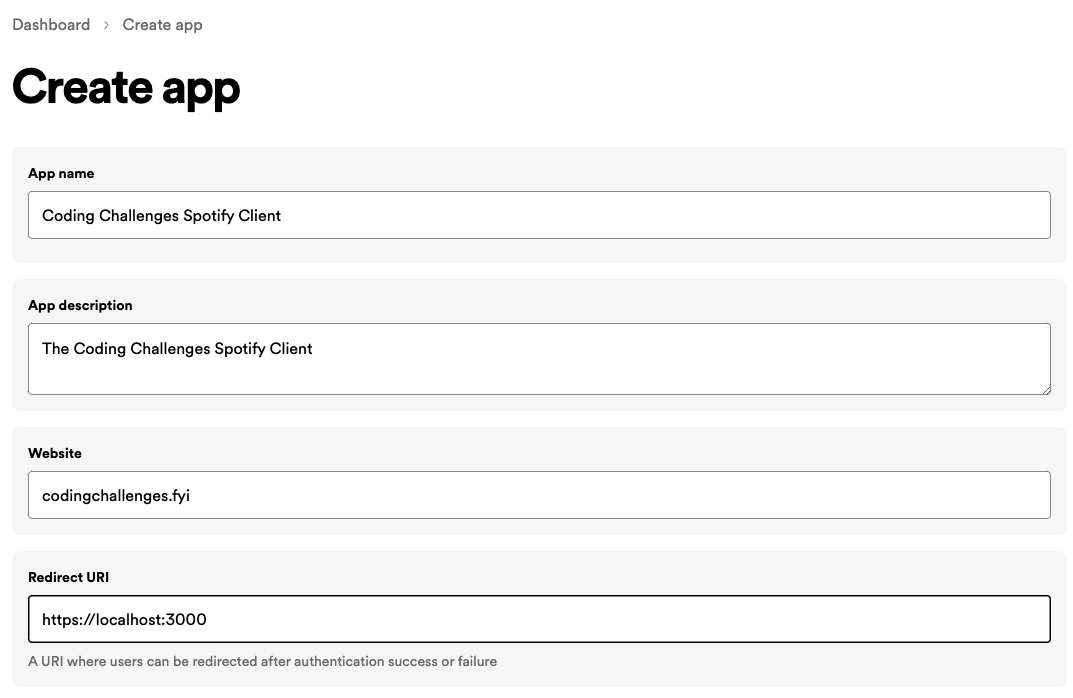
Then click on the button to create it!
Step 1
In this step your goal is to authenticate the user of your client. Spotify offer several options for this. You’ll find details of how to do this on in their documentation, for a Single Page Web App, they recommend using the authorisation code with PKCE.
Once you’ve authenticated check you can access the user’s profile by calling the /me endpoint. Check the documentation for the User Profile Endpoint to see what data is returned and how to use the authorisation token.
Check you’re getting back the id field you expect to verify that you’ve authenticated correctly.
Step 2
In this step your goal is to fetch the authenticated users playlists and display them to the user.
To do this you’re going to use the Get Playlist API. I then chose to render out the title of the playlist and the provided image, here’s what that looked like for one of mine.
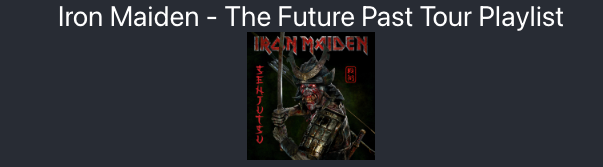
If you’re a fan of the band, they performed great in Manchester on this tour! If you’re not, hopefully you’re seeing a playlist of yours that is more to your taste.
Step 3
In this step your goal is to allow the user to select a playlist then play and pause that playlist. To do this you will need to add the Web Playback SDK (assuming you’re building a frontend application).
You will need to ensure you have the right scopes set for your authentication, once you done that you should be able to view a player that will look something like this:

If you see an error message that “Instance not active. Transfer your playback using your Spotify app” you will need to check the Spotify App and switch device to the Wb Playback SDK.
Step 4
In this step get the device_id of your client and use the Player API to transfer playback automatically to your client.
Taking It Further
You can take this one further by looking at Spotify’s own Web Client and the cloning any other features you fancy.
Help Others by Sharing Your Solutions!
If you think your solution is an example other developers can learn from please share it, put it on GitHub, GitLab or elsewhere. Then let me know - ping me a message on the Discord Server, via Twitter or LinkedIn or just post about it there and tag me. Alternately please add a link to it in the Coding Challenges Shared Solutions Github repo.
Get The Challenges By Email
If you would like to receive the coding challenges by email, you can subscribe to the weekly newsletter on SubStack here: